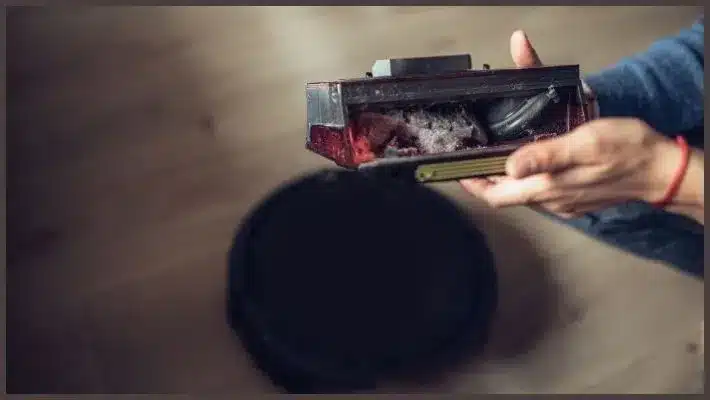
Dirt Devil is one of the most reputed brands. No matter what is your cleaning requirements, this manufacturer has a valuable product to serve.
However, any of the brand’s vacuums can get clogged due to the dust and dirt, which will limit its power to gather wastage.
The best solution is to clean your Dirt Devil vacuum by dissembling it. The process is simple, and you don’t need any special tools to clean the device.
Steps to Clean a Dirt Devil Vacuum Cleaner
Please get a #2 Philips Screwdriver before you initiate the disassembly. Be patient and follow the given steps to clean your vacuum. Keep in mind that the following process is only suitable for the Dirt Devil upright vacuums.
Step 1: Take Out The External Battery
Remove the power source. The exact process depends upon the model of your Dirt Devil vacuum. Most of these cleaning devices come with an external battery.
The battery is also known as power brick and is generally located near the side of a vacuum kit. The brick is most of the time connected with the charger plug via a cable. Take out this battery and keep it in a safe place.
Step 2: Detach The Handle
Please choose an area where you will work and cover it with newspapers or a sheet. Next, lay the vacuum on its sides and ensure that its handle remains towards the sky.
Use your hands to rotate the locking collar. If you find it hard to move, then apply some lubricants. Next, turn the collar anticlockwise until it comes out and pull the handle.
Step 3: Unscrew A Couple Of Sections
Rotate the handle you will find some screws facing upward. Use the #2 Philip screwdriver to take it out. Keep the screw in a safe place so that you can easily find it later.
We recommend that you place the screw inside a paper cup or plastic container. Take out all the screws one by one and keep them in one place. Then, pull out both the sections of the handle.
Step 4: Release The Canister and Clean It
Try to find a button that states the release. Turn the vacuum so that its release button can face the sky. Press this button with one hand and hold the canister with the other.
This action will remove the dust cup or canister. Empty the canister and wash it with cold water.
Step 5: Remove The Metal Plate
Rotate the vacuum on the floor to make sure its brush head comes up. Next, use the #2 Philip screwdriver to remove the screws from each side of the roll.
Keep all these screws in the same place like you did in the previous steps. Next, detach the brush head and pull the metal plates from its bristles.
Step 6: Take Out The Brush Head
You will still see some screws on the vacuum’s frame. Take the screws out and store them. Remove the brush head to access all the parts. Wash all the components and dry them using a dryer.
Reattach all the pieces once you are done. Throw the used newspaper.
Frequently Asked Questions
How do you disassemble a Dirt Devil vacuum?
Rotate the vacuum so that you can see its release button near the bottom. Press the button with one hand and hold the dirt canister with another. Please take out the dirt cup and release its button.
Can you wash a Dirt Devil vacuum filter?
Yes, you can wash the vacuum filter of a Dirt Devil vacuum. Keep turning the filter so that all its dirt goes away. Do not use soap or any other cleaning solution because it can damage the filter. Brushes and sponges can also ruin the filter. So, wash it by hands.
Conclusion
Now you know how to take apart a Dirt Devil vacuum. What you think, is it easy or difficult? The disassembly might be challenging, but it will be straightforward if you follow the instructions mentioned above.
Taking apart a Dirt Devil vacuum is comparatively more accessible than many other make and models. So, you can try one of the best upright vacuums from this brand. Happy cleaning.
